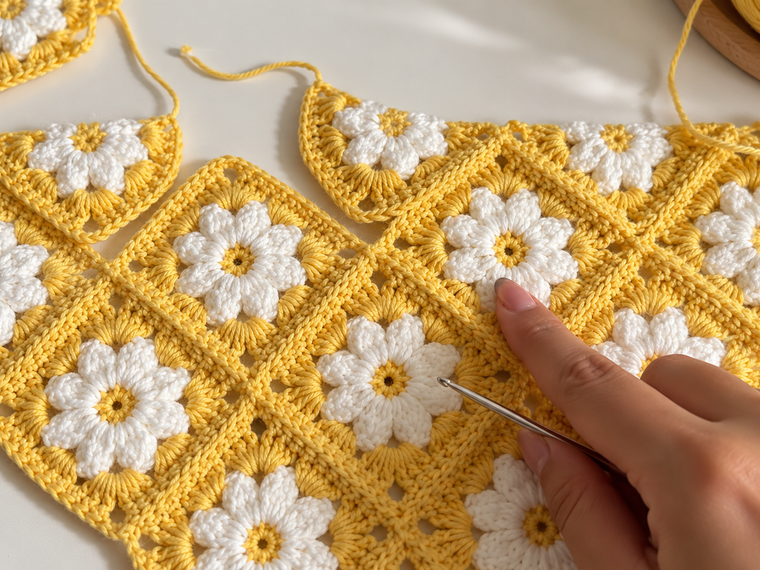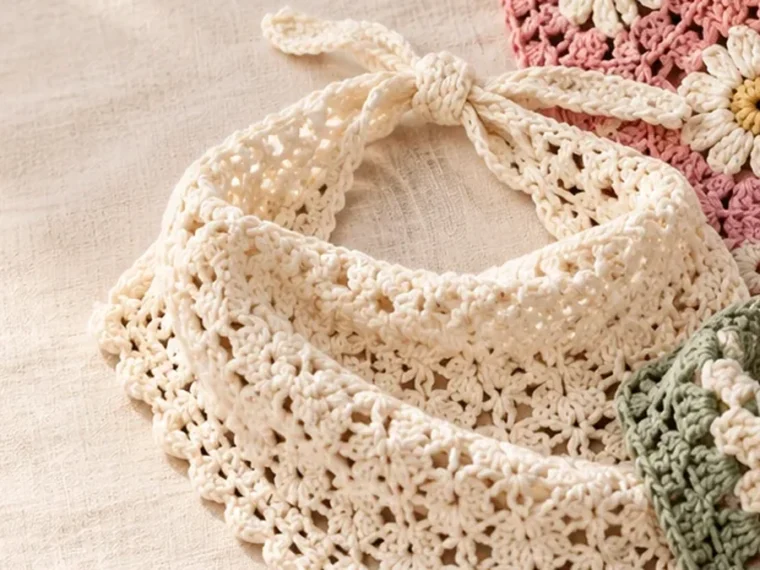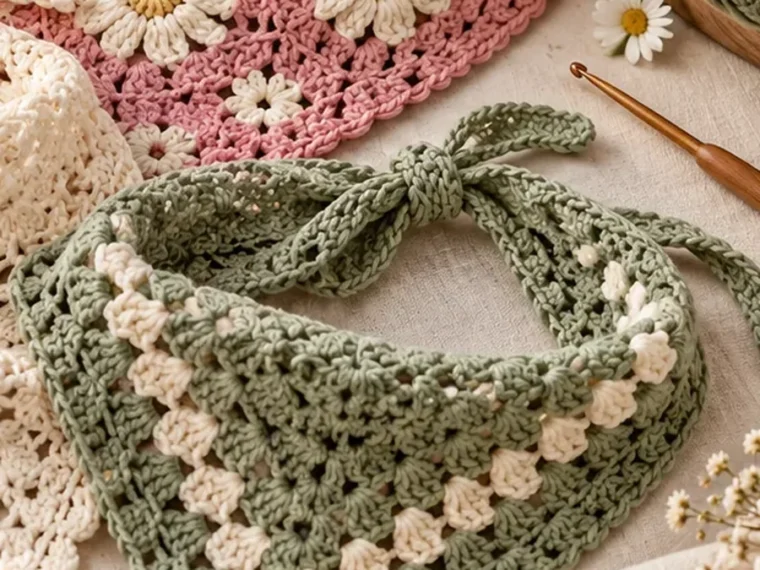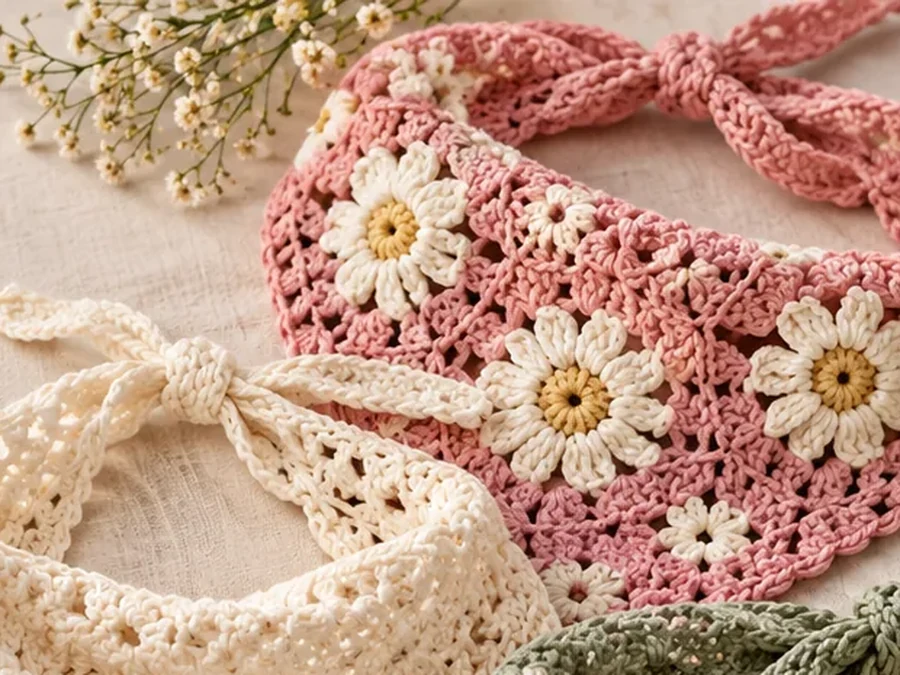
This easy crochet bandana is a relaxing first wearable project. The simple triangle is worked in single crochet, with two increases at the ends of every row to widen the fabric evenly. Once the triangle is large enough, add two chain ties and your bandana is ready to wear.
Pattern Details
- Skill level
- Beginner
- Yarn
- Cotton DK
- Hook size
- 4 mm
- Finished size
- Adjustable triangle
- Time
- 2–3 hours
- Techniques
- Single crochet and edge increases
Materials
- Lightweight cotton or cotton-blend yarn, approximately 40–60 g depending on size
- 4 mm crochet hook, or the hook needed to make a fabric you like
- Scissors and a yarn needle
- Two stitch markers (optional, for keeping track of row edges)
Abbreviations
This pattern uses US crochet terms: ch = chain; sc = single crochet; st = stitch; sts = stitches; sl st = slip stitch.
Before you begin
The bandana is worked from its small tip toward the wide edge. Each row adds two stitches, one at the beginning and one at the end, so the triangle grows evenly. The number of rows depends on your yarn, tension, and preferred fit. For a comfortable headscarf, try the piece around your head before finishing.
Pattern instructions
Row 1: Start the triangle
Ch 2. Work 3 sc into the second ch from the hook. (3 sts)
Row 2
Ch 1 and turn. Work 2 sc in the first st, 1 sc in the next st, and 2 sc in the last st. (5 sts)
Row 3 and every following row
Ch 1 and turn. Work 2 sc in the first st, sc in each st across until one st remains, then work 2 sc in the last st. You will add 2 sts on every row. Repeat this row until the bandana reaches your preferred width and depth.
Add the ties
When the triangle is the desired size, fasten off and weave in the end. Join yarn at one corner of the wide edge and ch 40–50 for a tie. Sl st back along the chain to strengthen it, then fasten off. Repeat at the opposite corner. Adjust the chain length to suit your preferred way of tying the bandana.
Finishing and fit
Weave in all loose ends. If your yarn allows it, gently block the triangle on a flat surface to even out the edges. Let the piece dry completely before wearing it. If you would like more coverage, continue adding rows before making the ties.
Ways to customize your bandana
Make a timeless version in cream or black, choose a soft pastel for spring, or use stripes to use up leftover yarn. You can also add a simple contrasting border by working one round of sc around the edge and placing 3 sc at each corner.
Frequently asked questions
Can I use acrylic yarn?
Yes. Cotton is a popular choice for warm weather, but a lightweight acrylic or cotton blend can also work. Choose a yarn that feels comfortable against your skin.
How can I change the size?
Continue repeating the increase row for a larger triangle, or stop earlier for a smaller accessory. Try the bandana on before adding the ties.
Is this pattern suitable for a first project?
Yes, if you are comfortable making chain stitches and single crochet. The repeated row makes it easy to practice consistent tension.
This is an original starter pattern included with the Crochet Bandanas website theme. Test the fit and fabric as you work, and edit the instructions to match the yarn and finished measurements you use.