
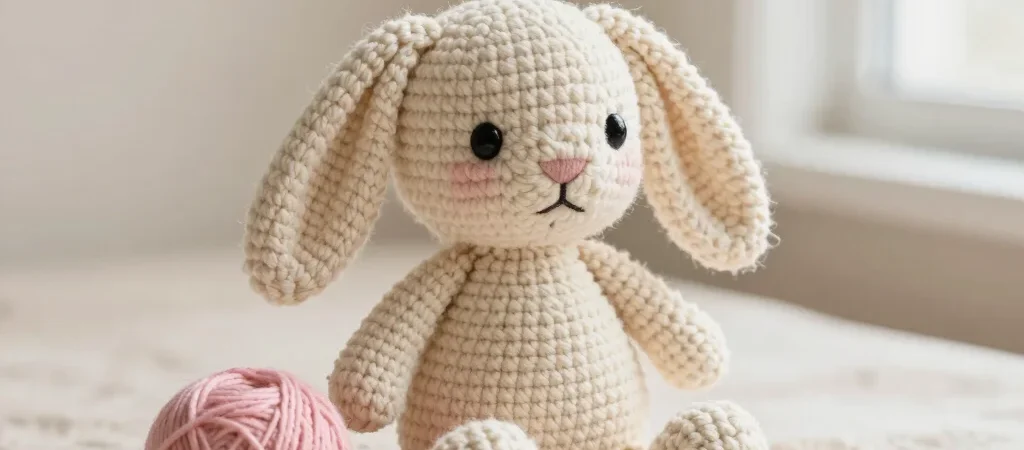
A tiny change in stitch count can make a bunny’s head lean or its base wobble, so this pattern keeps the shaping easy to check. The body and head are crocheted as one continuous piece, then the ears, arms, and feet are sewn on. Work in continuous rounds unless a step says otherwise.
Materials and abbreviations
Skill level: beginner-friendly, with increases, decreases, and simple sewing. Finished size is about 5 inches tall using worsted-weight yarn and a 3.5 mm hook; size will vary with your yarn and tension. You’ll need a small amount of main-color yarn, fiberfill, a stitch marker, a yarn needle, and two 6 mm safety eyes or dark embroidery thread.
Use US crochet terms: MR means magic ring, sc is single crochet, inc is two single crochet in one stitch, and dec is an invisible single-crochet decrease. Move the stitch marker to the first stitch of each round. The number in parentheses at the end of each round is the stitch count.
Crochet the body and head
Body, worked from the bottom up: R1, 6 sc in MR (6); R2, inc around (12); R3, repeat sc, inc six times (18); R4, repeat 2 sc, inc six times (24). R5–R8, sc around (24); R9, repeat 2 sc, dec six times (18); R10, sc around (18). Stuff the base firmly enough to sit flat.
Shape the head: R11, repeat sc, inc nine times (27); R12, repeat 8 sc, inc three times (30); R13–R17, sc around (30). Place the safety eyes between R15 and R16, about five stitches apart across the face. R18, repeat 3 sc, dec six times (24); R19, repeat 2 sc, dec six times (18); R20, repeat sc, dec six times (12); R21, dec six times (6). Add stuffing as the head takes shape, then fasten off and close the opening.
Make the pieces and assemble
For each ear, make 6 sc in an MR, then sc around for R2–R7 (6); fasten off, leaving a sewing tail, and flatten without stuffing. For each arm, make 6 sc in an MR and sc around for R2–R5 (6); add a pinch of stuffing at the tip if you like. For each foot, make 6 sc in an MR, inc around for R2 (12), then sc around for R3 (12); fasten off and leave a tail.
Sew the feet to the front of the base so the bunny can sit, and attach the arms at the sides around R9–R10. Position the ears on top of the head, adjusting their spacing before sewing them down. Embroider a small nose and mouth with a few neat stitches; a softly stuffed head and firmly filled base help the finished bunny hold its shape.